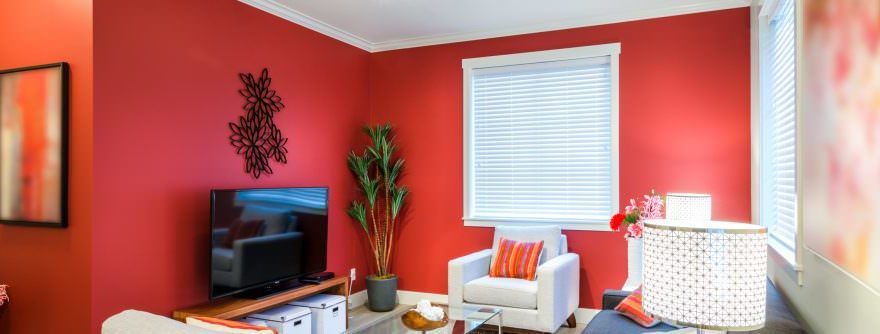
You might be looking at your walls and wondering to yourself, ‘’what if, I could make a color splash on the wall!’’ or ‘’What if I could make them look more flamboyant and alluring.’’ Well, the one thing we have learned from experience is that nothing can be achieved with just thinking. There must be a course of action as well!
So, you finally decide to do something about it and grab your trusty tools to make a change. But your quest for change ends before even it begins because you have no detailed plan to execute. Like any task, painting your house requires a meticulous plan that covers every little corner of your home. There are a few standards set by the professional painter that will undoubtedly give you a sense of direction in achieving your goals in getting that smooth & seamless finish on your house walls.
Even before you pick up the tools, you might give a second thought to choosing a professional house painting service for painting your walls for you. It could be a viable option if you do not have spare time on your hands and lack the handyman germ in you! But beware, according to a survey conducted in Belmont MA most of the DIY projects go awry due to unplanned execution. So, be sure to read through our article as we will be taking you to step by step in helping you achieve your objective!
Prepping Your Working Area
Preparing the work area should be the first thing on your to-do list.

Clear Out Any Accessories From The Walls
Remove any knobs, outlet covers, face-plates, and any other items that can obstruct you during the painting process. Make sure to remove all the accents and cover them with painter’s tape so the paint won’t settle there.
Take Out Or Cover The Furniture
The worse thing you can do at this point is to leave the furniture uncovered and get paint spots on them, further increasing your workload. Most of the interior painters recommend taking out the furniture, which will save you the cost of buying a sheet for wrapping them. But sometimes you don’t have much space and won’t be able to move the furniture. At that point, it’s better to cover the furniture with a drop cloth or plastic sheet.
Don’t forget to remove any fabrics from the vicinity as it is nearly impossible to get rid of paint that gets absorbed in the upholstery fabrics. So, keep all the furniture and fabrics away from your work area. Also, unplug all electronics and apply painters’ tape on the wall sockets after turning them off.
Cover The Floor
Just like your fabrics and furniture, the floors need to be protected from the paint too. No matter what type of floor you have, if the paint spills on it, the floor will definitely be stained! To protect your floors, use plastic sheets or a drop cloth. Avoid using thin cloth which can allow the paint to pass through to the floor.
Clean The Walls
Making the wall ready for being painted is crucial as it will allow the paint to set perfectly. Clean the surface of the wall using a wet cloth or sponge mixed with mild detergent. The local painting contractors advise against completely soaking the cloth or the wall and recommend using a very small amount of detergent.
Priming The Walls

After you have set up shop and gotten your work area prepared, the next thing is to prime the walls.
Use Primer
For most priming purposes, a bucket of primer is the best solution. The purpose of the primer is to increase the adhesion of the paint to the walls and decrease the number of coats required to paint the wall. It is also used when you need to paint over a darker shade.
Cover The Wall Thinly With Primer
Apply an even and thin coating to the walls using a roller. Cover the broadest areas in the center of the wall and keep consistency. Make perfectly sure there are no bare patches as it makes a negative impact. Use a handheld brush to fill any gaps and corners of the walls. Keep the thickness even throughout.
Let Primer Dry
Most new house painting experiences can be enhanced by being patient. Letting the primer dry is the key. Give it about 3 – 4 hours to let it dry before applying a coat of paint on the surface of the walls. Painting over the wet primer can cause smudging and clouding which will completely ruin the finishing of the paint.
You can use a fan or air conditioner to dry out the primer more quickly.
Painting
After the primer is dried, then it is time to paint your walls!!

Type Of Paint
When it comes to interior painting you can get easily confused. Most homeowners only focus on buying the best exterior paint of Belmont MA and on the colors, while forgetting the material and shading contrasts of the paint.
Like the pastel, paint can be used to brighten up your living room and a darker shade can add dimensions to your kitchen. So, make sure to take keen advice before choosing the type of paint for your walls.
Mix the Paint
Mixing the paint will make its texture consistent and smoother. Pour the paint in a bigger bucket and then mix it thoroughly. Most homeowners can forget this simple yet important task. As it prevents the oils and pigments from separating.
Begin From Upper Corners
Painting from the upper corners of the wall ensures that the trim will be neat and tidy. This will make the rest of the task easier by using a roller to paint the center of the walls. Use linear strokes when painting the trims.
Finishing Touches
After painting the center of the wall with a roller in a ‘’W’’ or ‘’M’’ pattern ensures better texture. Recoat the walls within 2 – 3 hours of the previous coat. Allow the paint to set up overnight and let it rest. It usually takes about two days for paint to set completely. You will get a fantastic finishing and a very smooth texture.
I am Emma, Writing is my passion. I love to write content on different topics on behalf of different companies. I have written several educational & informational content for different niches.